

Install software certificates for a secure SSL connection
$ sudo apt install wget ca-certificates

Add it to apt-key management utility and create a new configuration file with an official PostgreSQL repository address
$ wget --quiet -O - https://www.postgresql.org/media/keys/ACCC4CF8.asc | sudo apt-key add -
$ sudo sh -c 'echo "deb http://apt.postgresql.org/pub/repos/apt/ $(lsb_release -cs)-pgdg main" >> /etc/apt/sources.list.d/pgdg.list'


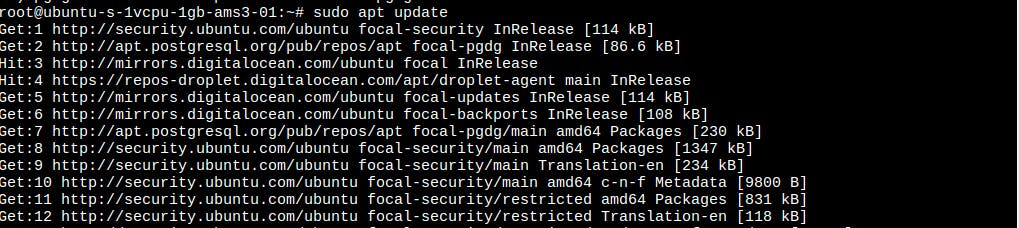
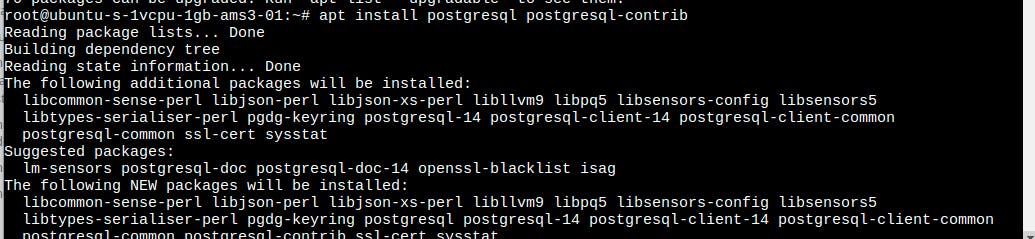
Install PostgreSQL
$ sudo apt update
$ apt install postgresql postgresql-contrib
Check PostgreSQL status
$ service postgresql status

Command Line Tool
A default admin user “postgres” is created by the default. A “psql” command-line client tool is used to interact with the database engine.
$ sudo -u postgres psql

PostgreSQL installation also creates a default database named “postgres” and connects you to it automatically when you first launch psql.
Check the connection
$ \conninfo

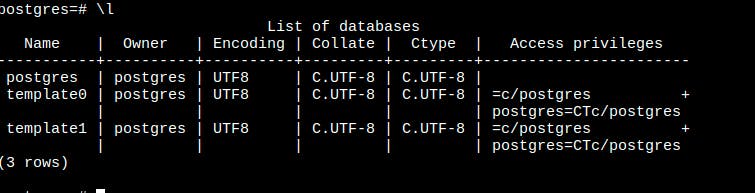
If you want to see a list of all the databases that are available on a server, use \l command.
$ \l
list of all the users with their privileges use
$ \du

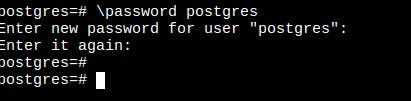
Since the default “postgres” user does not have a password, you should set it yourself.
$ \password postgres